


Description
Specification:
Material: Plastic
Model: PVSC30A.
Voltage: 12/24V
Current: 30A.
Max.pv Voltage: 50V
USB output: 2.4A * 2
Overcharge current (V): 13.7V/* 2 24V
Discharge current (V): 10.5-11V/* 2 24V
Temperature compensation: -3MV// cell
Empty load loading: <45mA
Loop voltage drop: <200mV
Display: LCD display
Size: 17.5 * 14 * 3.5 cm (30a)
Features:
LCD screen
PWM battery charging.
All necessary safety devices.
Automatically adjusts to 12/24V.
The control parameters can be set to a variety of battery parameters, which can be adapted to different characteristics.
the battery.
The load control mode can be selected, and the timer function can be reset at night for streetlights.
Overcurrent, short circuit, automatic recovery after protection.
It has a strong charge, constant current, and floating three intelligent controls.
Precise temperature compensation automatically corrects the charging and discharging voltage and improves battery life.
Note:
The machine can only be used with a lead-acid battery.
The 50A/70A controller displays PV and charging parameters that are not available in the 30A version.
This product is a basic controller; the price is low, not a high-end, multifunctional controller. Please think twice before buying! The product does not currently have a communication interface.
Package contents:
1x Solar Charge Controller
Use instructions
1. The function of the controller is to protect against voltage overshoot and to prevent overshoot.
2. If the battery voltage is too low, the controller stops the output. After the solar panel is charged, the cell recovers to 12.6 V.
3. 12.6V is the recovery discharge voltage.
4. The normal operating voltage of the controller is 10.7 V to 13.7 V. These two voltage fluctuations can be adjusted manually.
If you are experiencing problems using it, try setting the float voltage to 13.7 V:
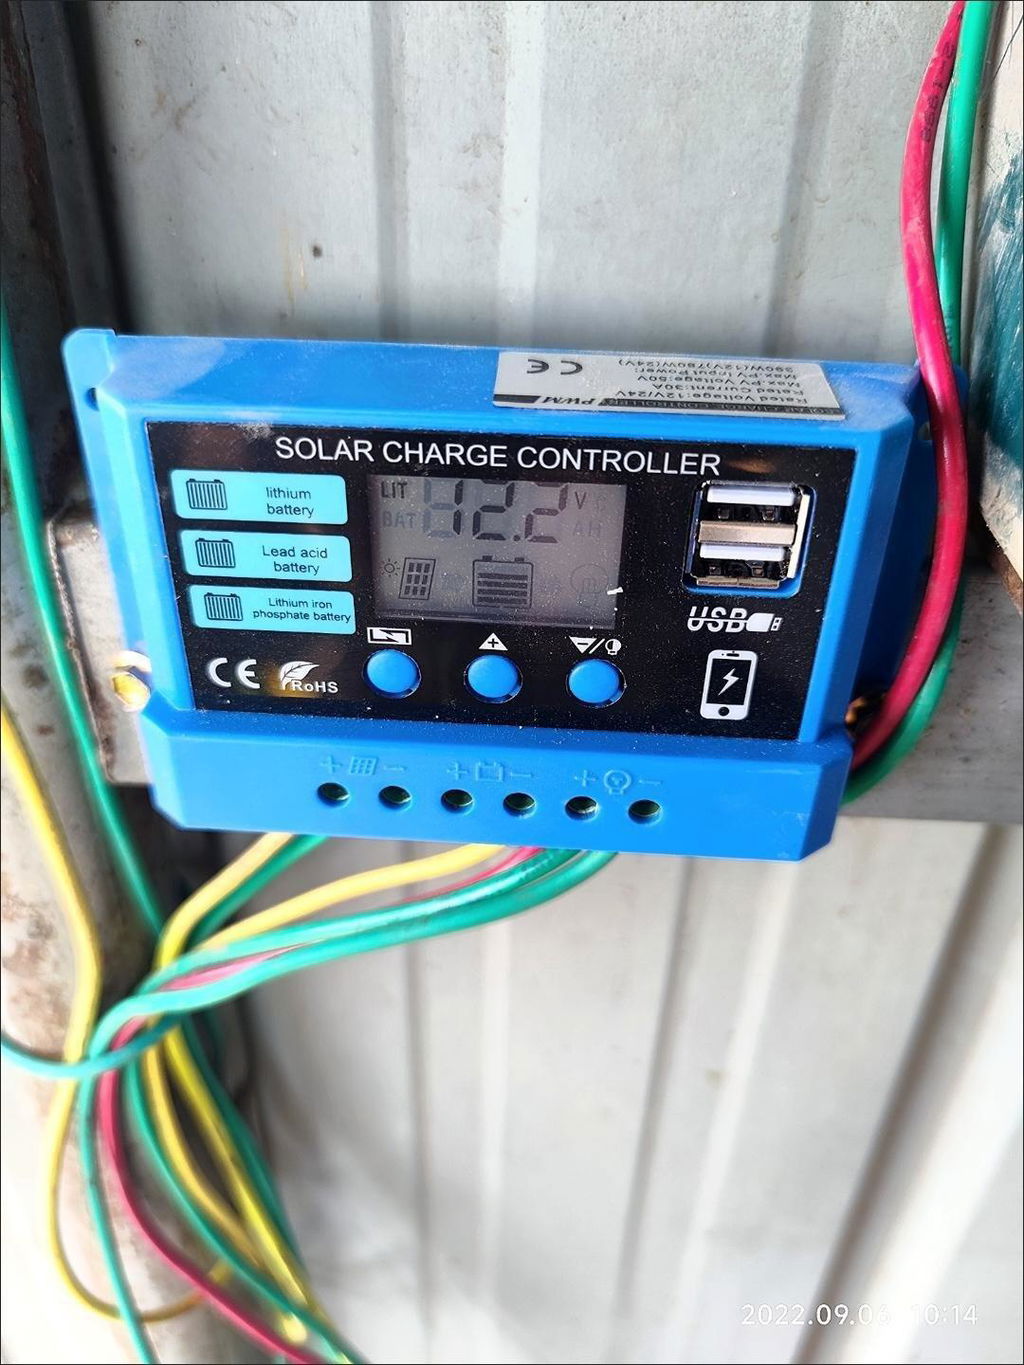
First, you need to press the MCU control button for about 3-4 seconds, and then a management interface will appear on the screen.
Secondly, you must press the ADD button on the screen until the voltage reaches 13.7 V.
Finally, you must press the MCU control button again, which will save the controller data set if the display is not flickering.
Guarantee:
Returns: Customers have the right to request a return within 60 days of receiving the product.
24-hour online expert support: Solve your installation and product problems
Der Effekt ist sehr gut, die Ladegeschwindigkeit ist schnell und das Preis-/Leistungsverhältnis ist sehr hoch.
Fghhuiohg
A good dealer.
Ok
12V-48V MPPT PWM Solar Ladung Controller Lead-Sacid LifePO4 Lithium-Ladegerät